Favero Assioma DUO Power Meter Pedals
  Sigeyi AXO SRAM Road Power Meter
  LOOK X-Track Power Meter Pedals
 ANT+, BCD, Q factor, strain gauge…say what? There are quite a few terms that get mentioned when discussing power meters. We thought it would be helpful to explain some of these terms here. We think you’ll agree…they really aren’t that complicated!
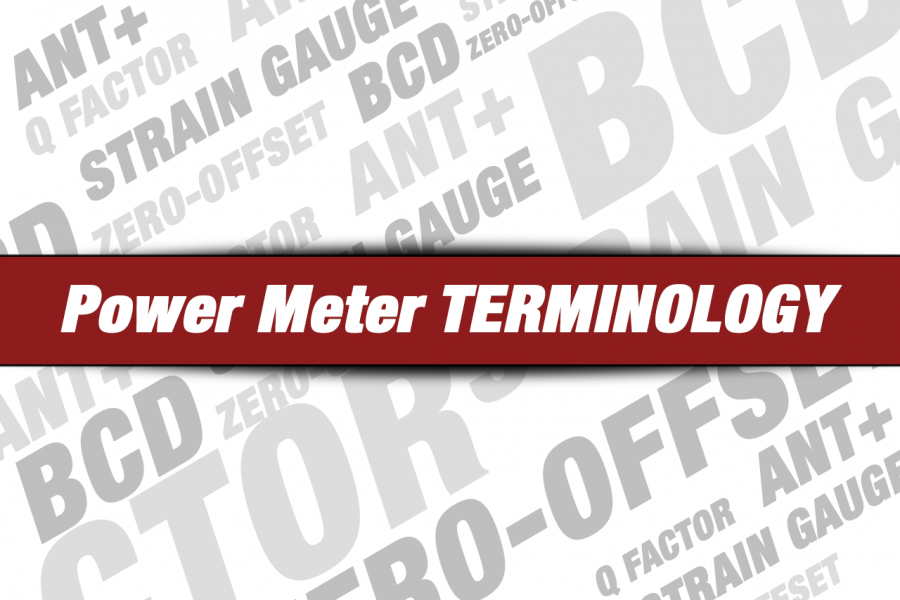
Power Meters Terminology
Accelerometer
In order to calculate power, your power meter multiples torque (how much force you are generating) by cadence (how fast your are turning the pedals). It uses strain gauges (defined below) to measure torque, but how does it know how fast you’re turning the pedals? It uses an accelerometer. An accelerometer is an electronic device that is housed inside the power meter and can measure the proper acceleration of the device that is in motion. For example, with a pedal-based power meter, the accelerometer is housed inside the pedal body and can measure your precise pedaling rate.
ANT+

ANT+, which stands for interoperability, is a 2.4 GHz wireless network which is used to send standard information wirelessly from one device to another. ANT+ allows two wireless devices to understand and communicate with one another, even if they are from different manufacturers. In the case of power meters, ANT+ allows your power meter to communicate with your head unit. Almost all cycling power meters and head units use ANT+.
Bluetooth SMART
![]()
Bluetooth SMART, also known as Bluetooth Low Energy, Bluetooth 4.0 or BLE, is also a wireless technology that allows information to pass between electronic devices. Bluetooth SMART allows devices to wirelessly connect with applications via smart phones and tablets. While Bluetooth is probably the more well-known of the two protocols, there are currently only a few power meters on the market that use Bluetooth SMART technology.
See ANT+ vs. Bluetooth SMART for more information on ANT+ or Bluetooth Smart technology.
Bolt Circle Diameter (BCD)
BCD is the location of the chainring bolt holes diametrical location. Or put more simply, it is the diameter of a circle that passes through the centers of the bolts holes in your chainring. BCD is typically measured in millimeters. If it sounds complicated…it’s really not. This is where a picture is worth 1,000 words (see below).

You must know the BCD of your crankset if you decide to purchase a new chainring for your bike. The BCD is usually stamped right on the chainring. However if it is not, you need to measure it. On 4 bolt cranks, you can measure directly across the chainring (note that it is best to use a caliper to measure, as the crank arm can get in the way). For 5 bolt chainrings, you measure the distance between two adjacent bolts and use a “cheat sheet” (found on-line) that can translate your measurement into the BCD of your chainring.
Calibration
Calibration happens at the factory. When your power meter is manufactured, the factory sets what is called the ‘slope’. The slope is a multiplier that is used by the software within the power meter. The software uses the slope to convert the pedaling force into torque and ultimately watts – which is what is displayed on your head unit. Slope is given in Hz/Nm and is often written somewhere on the power meter and should be included in the paperwork you received when you purchased your power meter. The slope of your power meter should not change to any significant degree but can be checked by the factory when it is being serviced.
Slope graphic provided by SRM

CPS Technology
CPS stands for Crank Position System and is a technology used by Verve Cycling in order to measure cadence with their InfoCrank power meter. The technology measures cadence internal to the cranks, using the strain gauges to read the tangential load. CPS technology is extremely accurate and is able to detect cadence pulses regardless of power or pedaling style. With CPS, you have the accuracy of a magnet without having to have one mounted to your bike.
Head Unit (Cycling Computer)
Data from the power meter is transmitted to a handlebar mounted computer or ‘head unit’ via a wireless protocol such as ANT+ or Bluetooth SMART. The head unit displays power data such as current, maximum and average power, as well as serves as an all-around cycling computer, displaying things like heart rate, speed, distance time and more.
SRM PC8 PowerControl

Stages Dash M50

Left/Right Power
Some power meters offer independent left and right power measurement. This means they allow you to measure how much of your power is attributable to your left leg and how much to your right.
There are two types of left/right power – actual and estimated. Power meters such as Verve Cycling’s InfoCrank, PowerTap’s P1 Pedals or bePRO’s pedals, measure both legs independently, and then combine that data to give you total power. Verve does this by locating a power meter on both crank arms, whereas PowerTap and bePRO accomplish this by housing a power meter in both the left and right pedals. With a power meter on both the left and right side of the drivetrain, you can get actual or true left/right power.
Cycling power meters such a PowerTap’s C1 Chainrings on the other hand, estimate how much of your total power is coming from your left leg versus your right leg. This is because there is only one power meter on the bike (in this case on the chainrings), so the power meter needs to make some assumptions. It does this by essentially “crediting” either your left or right leg based on where in the pedal stroke you are at. The PowerTap C1 takes power from your left and right down strokes only, while ignoring the upstroke. Since the majority of your power comes from the down stroke, it can estimate your power distribution fairly closely, just not exactly.
See our article on Left/Right Power Measurement for more information.
MAS Spider
 ROTOR offers their MAS spider as an option with select ROTOR power meters – such as the INpower and 2INpower. MAS stands for Micro Adjust Spider. The ROTOR MAS spider allows you to fine-tune your Q-Ring position to better suit your needs and pedaling style. ROTOR calls this the Optimum Chainring Position (OCP).
For example, using a standard spider and ROTOR Q-Ring, you typically have approximately 5 degrees of adjustment. The MAS spider has additional bolt hole options, effectively giving you half positions or approximately 2.5 degrees of adjustment.
In addition, there is no additional weight penalty when using the MAS spider.
Power (Watts)
Power is a measure of the force or work you do on the bike and is measured in watts – whereas watts are the energy required to a move a mass a certain distance in a known time period. The equation for power is: Power = Torque x Cadence
Torque refers to how much force you are generating.
Cadence is the rate at which the cyclist turns the pedals. It is measured as the number of revolutions of the crank per minute (rpm).
Cadence and torque are therefore multiplied to determine the power of a single pedal stroke. So you can see that there are two ways to produce power on the bike.
1. Increase your torque. That is, apply more force to the pedals.
2. Increase your cadence. Turn the pedals faster at a given torque.
Q factor
Q factor (sometimes also called tread) is the distance between the outside of the crank arms, when measured parallel to the bottom bracket axle. The Q factor is a function of both the bottom bracket width as well as the shape of the crank arms.

For road and triathlon bikes, Q factors of around 145-150 mm are pretty typical. However, on mountain bikes, Q factors of closer to 175 mm are common. This is because the wider mountain bike tire pushes the chain stays further out, causing a clearance problem with the heel of your shoe. Therefore, Q factors are increased so that your shoe can clear the chain stay as you pedal.
Some people prefer the feeling of a wider Q factor, however narrow Q factors offer more pedal clearance when cornering and are slightly more aerodynamic. Also, research from The University of Birmingham in the UK showed that narrow Q factors were more efficient due to the improved ability to generate force, as well the potential for reduced risk of injury.
One last note – we often see people cite the Q factor of a pedal itself. What they are actually referring to is the spindle length of the pedal. The spindle length is measured from the center of the pedal to where the pedal spindle meets the crank arm. Spindle lengths in the mid- to high-50s mm are pretty common.
Stack Height
Stack height is the distance from the center of the pedal spindle to the bottom surface of your shoe. It’s an important number to know because if you purchase a set of pedal-based power meters, the stack height on your new pedals could be different than on your previous pedals. If your stack height changes, so will your fit on the bike. Fortunately, the change to your fit will likely be minimal and is usually easily addressed by moving your seat up or down a few millimeters in order to compensate for the difference.
Note that often times pedal manufacturers tout lower stack heights as being better. The theory is that a lower stack height means that your power is applied more directly to the pedal with less effort required to control your pedal position. However I’m yet to find any study to back this up and if you looked at the stack heights for top cyclists, my guess is you would find a range of heights. So I would expect any performance difference to be minute.
Graphical Depiction of the 10.5 mm Stack Height on bePRO Pedals

Strain Gauge
While there are many different power meters on the market, the vast majority measure torque using what is called a strain gauge. A strain gauge is a tiny electronic device whose electrical resistance varies depending on how much resistance (strain) is put on them. In the case of a crank arm-based power meter for example, the strain gauge measures how much your crank arm is flexing when you push down on the pedals.
Graphical depiction of a strain gauge. Provided by Quarq

Zero-Offset
Zero-offsetting or zeroing, is a procedure that is done by the rider before every ride in order to ensure the power readings are accurate. (Note it’s often called calibrating, however the proper term is zero-offsetting. Calibrating is a different procedure and happens at the factory.) When you perform a zero-offset, the power meter zeros out any residual torque in the power meter – or more specifically, measures the value at zero load and then records this value as a baseline for power measurement on your ride. Force applied while pedaling will then be measured as torque and is used to determine your power (measured in watts). To ensure maximum accuracy, you should perform a zero offset before every ride. See Calibration vs. Zero-Offset for more information.